Use of sealing stickers for perfect packaging
Everyone knows the convenience of sealing stickers for quick and neat packaging. But did you know that choosing the right type of sealing sticker can reduce packaging peeling by up to 40 percent ? Surprisingly, most people think all sealing stickers work the same way. Yet, details like adhesive strength, material, and temperature sensitivity are the secrets to a truly professional finish.
Table of contents
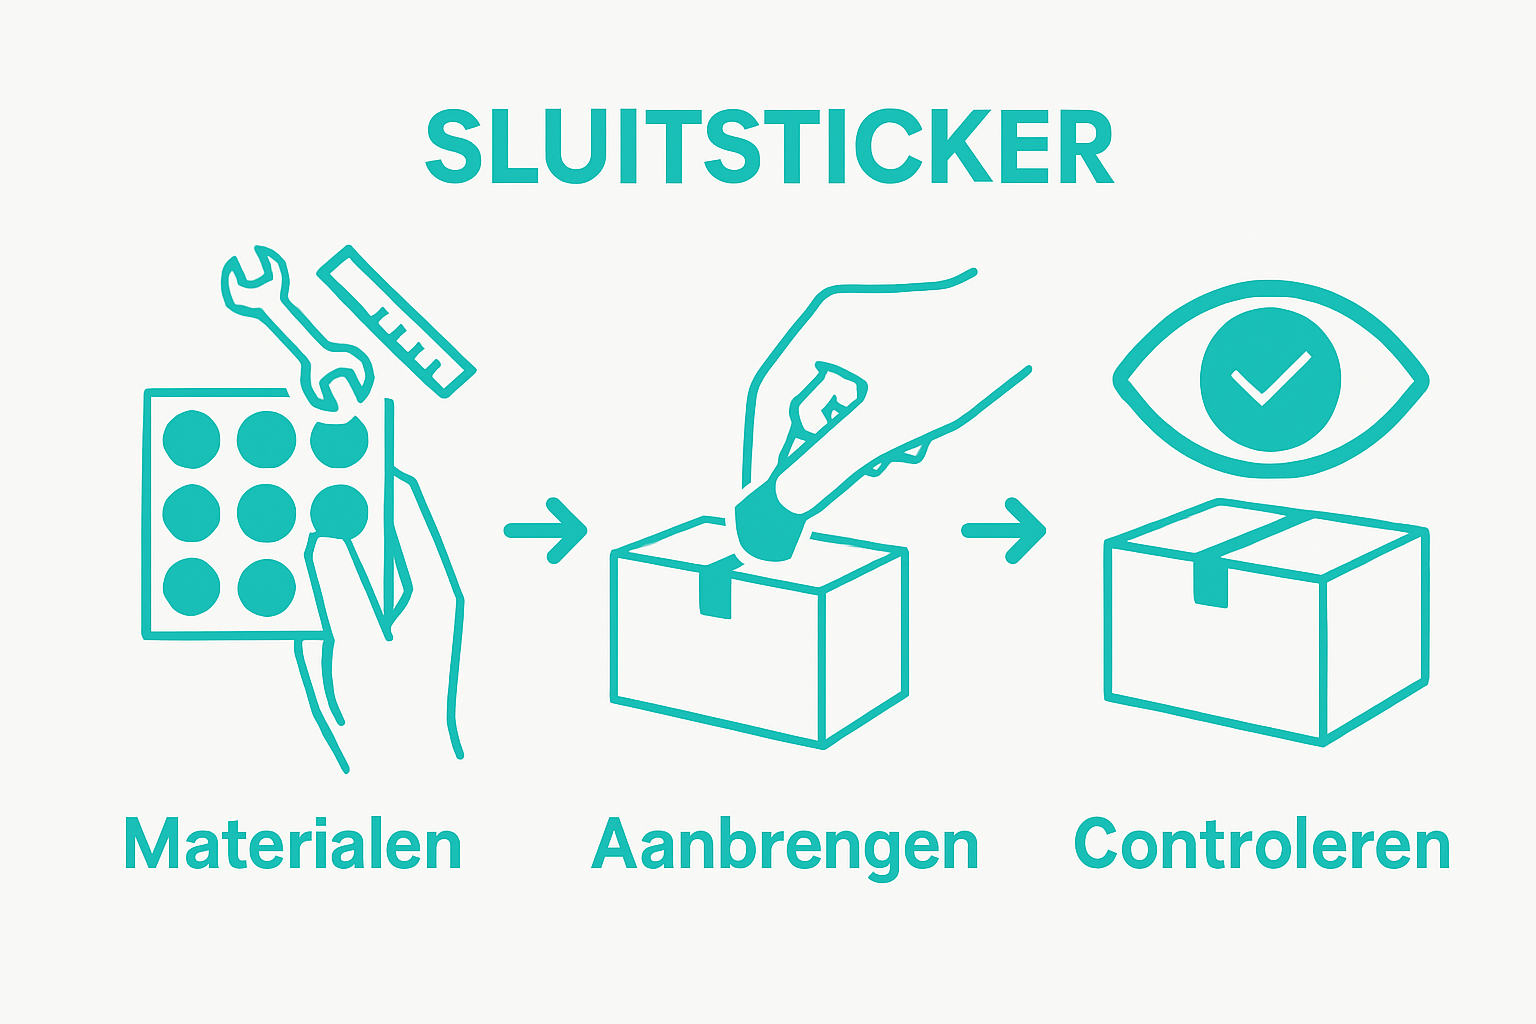
- Step 1: Gather the materials needed for closure stickers
- Step 2: Choose the right type of closure stickers for your project
- Step 3: Design and print your closure stickers
- Step 4: Apply the sealing stickers correctly to the packaging
- Step 5: Check the quality and finish of your closure stickers
Short Summary
| Important Point | Explanation |
|---|---|
| 1. Collect high-quality closing stickers | Good sealing stickers are essential for a strong finish and to prevent packaging from coming loose. |
| 2. Choose the right sticker for your project | Different materials require specific stickers; pay attention to adhesive strength and material type. |
| 3. Design with attention to detail | Use professional design software and ensure high resolution for sharp prints. |
| 4. Attach stickers carefully | A clean surface and correct application technique prevent air bubbles and crooked sticking. |
| 5. Perform a quality check | Check stickers for air bubbles and adhesion; this ensures a professional appearance and ready-to-use packaged products. |
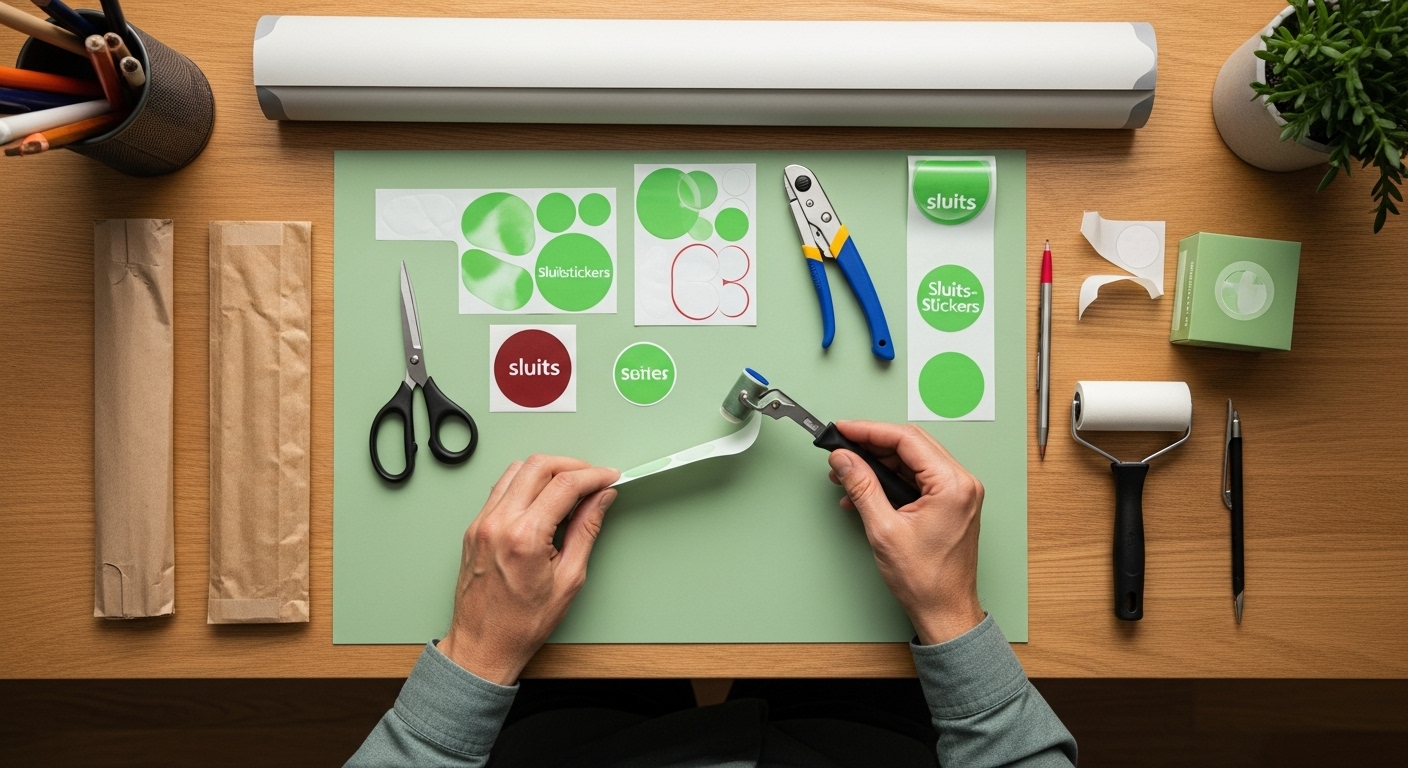
Step 1: Gather the materials needed for closure stickers
Gathering the right materials is the crucial first step for perfect sealing stickers. Good preparation not only determines the efficiency of your packaging process but also ensures professional and neat results.
To successfully apply sealing stickers, you'll need a few specific materials. Start by gathering high-quality sealing stickers suitable for your specific packaging needs. Choose stickers that are sturdy enough to properly seal packages and that are compatible with the material you'll be sealing. Consider a variety of sizes and adhesive strengths.
Besides the sealing stickers themselves, it's important to have additional tools at hand. Provide a clean, dry surface where you can prepare the packaging. A sturdy table or work surface is ideal. Also, make sure you have scissors or a precision cutter on hand to cut stickers to size if necessary. A pressure roller or a smooth surface will help ensure perfect application of the stickers without bubbles or wrinkles.
For more detailed information on professional gift wrapping , check out our small gift wrapping guide .
Before you begin, make sure the surfaces are clean and free of grease. Greasy or dirty surfaces will prevent the sealant sticker from adhering properly. If necessary, use a clean cloth or alcohol wipe to prepare the surface. Also, pay attention to the temperature and humidity of your workspace, as these can affect the stickers' adhesive strength.
An organized workspace is essential. Gather all materials before you start: sealing labels, substrate, any tools like scissors or a roller, and the packaging you want to seal. By setting everything up beforehand, you prevent unnecessary interruptions during the process and ensure a smooth and efficient workflow.
With the right preparation and materials, you're ready to take the next step in perfectly sealing your packages with closure stickers.
Here is a clear table of the most important materials, tools and their functions for successfully applying sealing stickers.
| Materials/Tools | Function | Specifications |
|---|---|---|
| High-quality closing stickers | Close packaging | Select the appropriate size and adhesive strength |
| Clean, dry surface | Optimal adhesion of sticker | Free from dust and grease |
| Scissors or precision cutting knife | Customize stickers | Sharp, precise |
| Pressure roller/smooth surface | Apply stickers evenly and without air bubbles | Smooth, sturdy material |
| Clean cloth/alcohol wipe | Clean surface for best adhesion | Lint-free, grease-removing |
| Sturdy (work) table | Stable surface for preparation | Flat, stable |
| Packaging for closing | Object for applying sealing stickers | Fit desired application |
Step 2: Choose the right type of closure stickers for your project
Selecting the right sealing stickers is crucial for professional and effective packaging. Different projects require specific types of stickers with unique properties that perfectly match your specific needs.
Start by analyzing the materials you'll be sealing. Paper packaging requires different stickers than plastic or cardboard boxes. Transparent stickers are ideal for packaging where you want to keep the contents visible, while opaque stickers offer more decorative possibilities. Pay particular attention to the adhesive strength and the material of the sticker in relation to the surface you'll be applying it to.
When choosing sealing stickers, several important criteria are important. Adhesive strength is essential to prevent stickers from peeling or peeling off during transport or storage. Choose stickers with a strong adhesive suitable for the conditions the packaging will be in. Some stickers, for example, are specially designed for cold or humid environments.
Discover various sticker options for your packaging to find the perfect match.
Consider the temperature resistance of the sealing stickers. Stickers for products exposed to extreme temperatures must be able to withstand heat and cold without losing their adhesive strength. This is a crucial consideration for food packaging or products that will be shipped.
The size of the sticker is also an important consideration. Measure the perimeter or area you want to seal and choose stickers that fit perfectly. Stickers that are too large can look messy, while stickers that are too small won't provide a secure seal. Some professional packaging requires precise, custom-made sealing stickers.
Consider the visual aspects as well. Do you want stickers that look professional and sleek, or decorative and eye-catching? Transparent stickers provide a modern, sleek look, while colored or printed stickers offer more opportunities for branding and personalization.
Ultimately, it's all about choosing the perfect sealing sticker for your specific packaging needs. Take your time comparing different options and, if possible, test a few stickers before purchasing a large quantity.
This table provides a comparison of different types of sealing stickers, their possible applications and what to look for when selecting them.
| Type of closure sticker | Application | Main feature | Material/substrate |
|---|---|---|---|
| Transparent | Keep content visible | Discreet appearance | Paper, plastic |
| Opaque | Decorative packaging | Branding/personalizable | Cardboard, wrapping paper |
| High adhesive strength | Heavy/shipping packaging | Strong bond | Cardboard, thick paper |
| Temperature resistant | Cool/warm products | Retains adhesive strength at temp. | Food packaging, transport |
| Custom made | Professional, unique format | Perfect fit | Specific packaging |
Step 3: Design and print your closure stickers
Designing and printing closure stickers is a creative process that allows you to combine your personal style with a professional image. A well-designed closure sticker not only enhances the visual appeal of your packaging but also strengthens your brand identity.
Start by choosing the right design environment. Graphic design programs like Adobe Illustrator or free alternatives like Canva offer excellent options for creating professional-looking seal stickers. Pay attention to the resolution and file format when preparing your design. A minimum resolution of 300 dpi guarantees sharp and clear prints.
When designing, consider the dimensions of your sealing stickers. Carefully measure the area you want to cover and make your design slightly narrower than the exact measurement to ensure a neat finish. Experiment with different shapes, such as round, rectangular, or custom shapes to suit your packaging.
Discover inspiring packaging ideas for your design to boost your creativity.
Choose color schemes that complement your brand or the specific packaging. Some designers opt for subtle, elegant color schemes, while others prefer bold and vibrant designs. Ensure the text remains legible and use fonts that are both decorative and clear.
When printing, the quality of your printer is crucial. Laser printers generally deliver sharper results than inkjet printers, especially for detailed designs. Ideally, use high-quality self-adhesive sticker sheets that are compatible with your printer. Always test print on a regular sheet of paper first to check the exact positioning and color reproduction.
Consider the functionality of your closure sticker. Besides being a decorative element, do you also want to include important information like a logo, product name, or instructions? Make sure this information is clearly legible and not obscured by folds or scratches.
After printing, it's important to cut the stickers precisely. Use a sharp knife or a precision cutter to ensure straight, clean edges. A cutting mat will help ensure straight lines and protect your work surface.
The end result should be a professional-looking seal that perfectly complements your packaging and reinforces your brand identity.
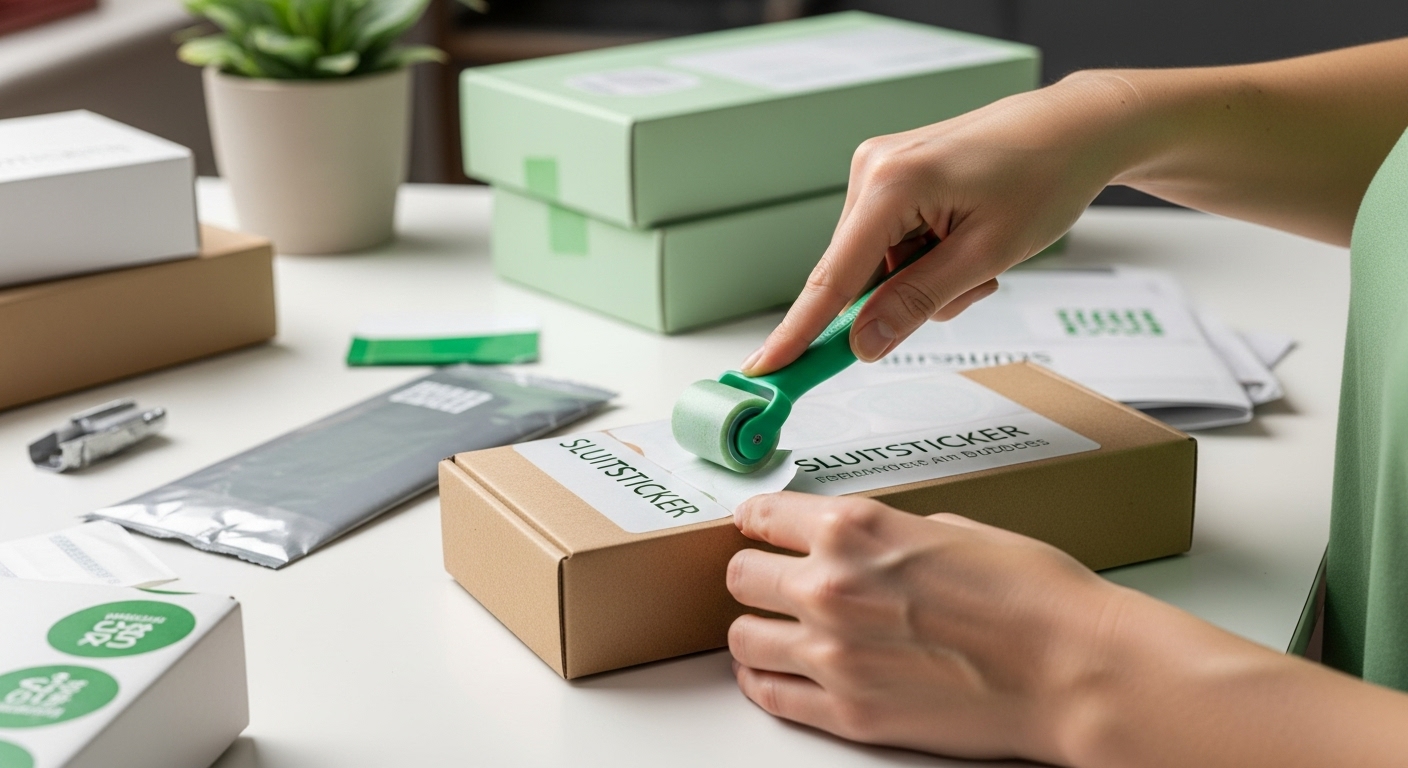
Step 4: Apply the sealing stickers correctly to the packaging
Correctly applying seal labels is a precision job that determines the professionalism and functionality of your packaging. Careful application prevents peeling, wrinkling, or unsightly edges that detract from the appearance of your product.
Start by thoroughly cleaning the surface where you'll be applying the sticker. Use a clean, dry cloth to remove any dust, grease, or fingerprints. A slightly damp microfiber cloth can help with stubborn dirt, but make sure the surface is completely dry before applying the sticker. A clean surface guarantees the best adhesion and prevents premature peeling.
Position the sticker with extreme precision. Start at a corner or point of the packaging and slowly unroll the sticker, using your fingers or a pressure roller to prevent air bubbles. Always work from the center outward to ensure a smooth, even finish. Some professionals use a plastic credit card or a special pressure squeegee to apply the sticker evenly.
Discover professional packaging optimization tips to further improve your skills.
For larger stickers, pay extra attention to correct positioning. Start in the center and work outward. This helps maintain symmetry and prevents shifting or crooked placement. For packaging with a textured surface, you may need to apply extra pressure to ensure the sticker adheres properly in all seams and folds.
Consider the temperature and humidity of your workspace. Extreme temperatures can affect the sticker's adhesive strength. Ideal conditions are a room with a moderate temperature between 15 and 25 degrees Celsius and a relative humidity of around 50 percent.
After applying the sticker, it's important to carefully inspect it. Check for air bubbles, wrinkles, or loose edges. For minor imperfections, gently press with your fingers or a soft cloth to smooth them out. For larger imperfections or if the sticker is not properly applied, carefully remove the sticker and reapply it.
A perfectly applied sealant not only gives a professional look but also ensures a reliable seal for your packaging. Take your time and work carefully for the best results.
Step 5: Check the quality and finish of your closure stickers
The final step in the sealing process is a critical phase where you assess the overall quality and finish of your packaging. A thorough final inspection prevents future problems and guarantees a professional result.
Start with a visual inspection from different angles and lighting conditions. Examine the sticker in both daylight and artificial light to identify any imperfections. Pay particular attention to any air bubbles, creases, or irregularities in the edges. Small imperfections can significantly impact the overall appearance and functionality of your packaging.
Next, perform a tactile check by gently running your fingers over the sticker. Feel for any bumps or protruding edges that could indicate poor adhesion. A properly applied sealant should feel smooth, without any bumps or wrinkles. Also, pay attention to the edge finish and check that the sticker is evenly attached.
Discover professional luxury packaging tips to further refine your skills.
Test the adhesive strength by gently lifting the sticker at one corner. A high-quality sealing sticker will peel off evenly and without tearing. Check that the adhesive doesn't leave any residue or damage the surface. For products exposed to varying temperatures or transport conditions, this is a crucial step to ensure durability.
Also evaluate visual aspects such as color reproduction, sharpness of printed text or images, and the overall aesthetic presentation. Small color variations or blurry text can detract from the professional appearance of your packaging. If in doubt, use a magnifying glass to inspect details closely.
Consider the specific function of your packaging. A sealing sticker for gift wrapping has different quality requirements than a sticker for industrial or food-grade packaging. Check that the sticker meets all specific requirements, such as food safety, temperature resistance, or recyclability.
If you discover any imperfections, don't hesitate to reapply or replace the sticker. Perfection requires patience and precision. A second check can make the difference between good and excellent packaging.
Ultimately, a successful inspection is recognizable by a sleek, smooth, and professional-looking seal that seamlessly matches the packaging and optimally protects and presents the contents.
Choose the best sealing stickers and packaging for a perfect result
Have you just discovered the importance of choosing the right sealing stickers for a professional look and reliable packaging? In this article, you've read why careful use of materials, appropriate dimensions, and optimal adhesive strength are so crucial. Perhaps you recognize the problem of packages opening too quickly or the appearance not quite meeting your expectations. You want certainty, efficiency, and a beautiful presentation for every gift or product.
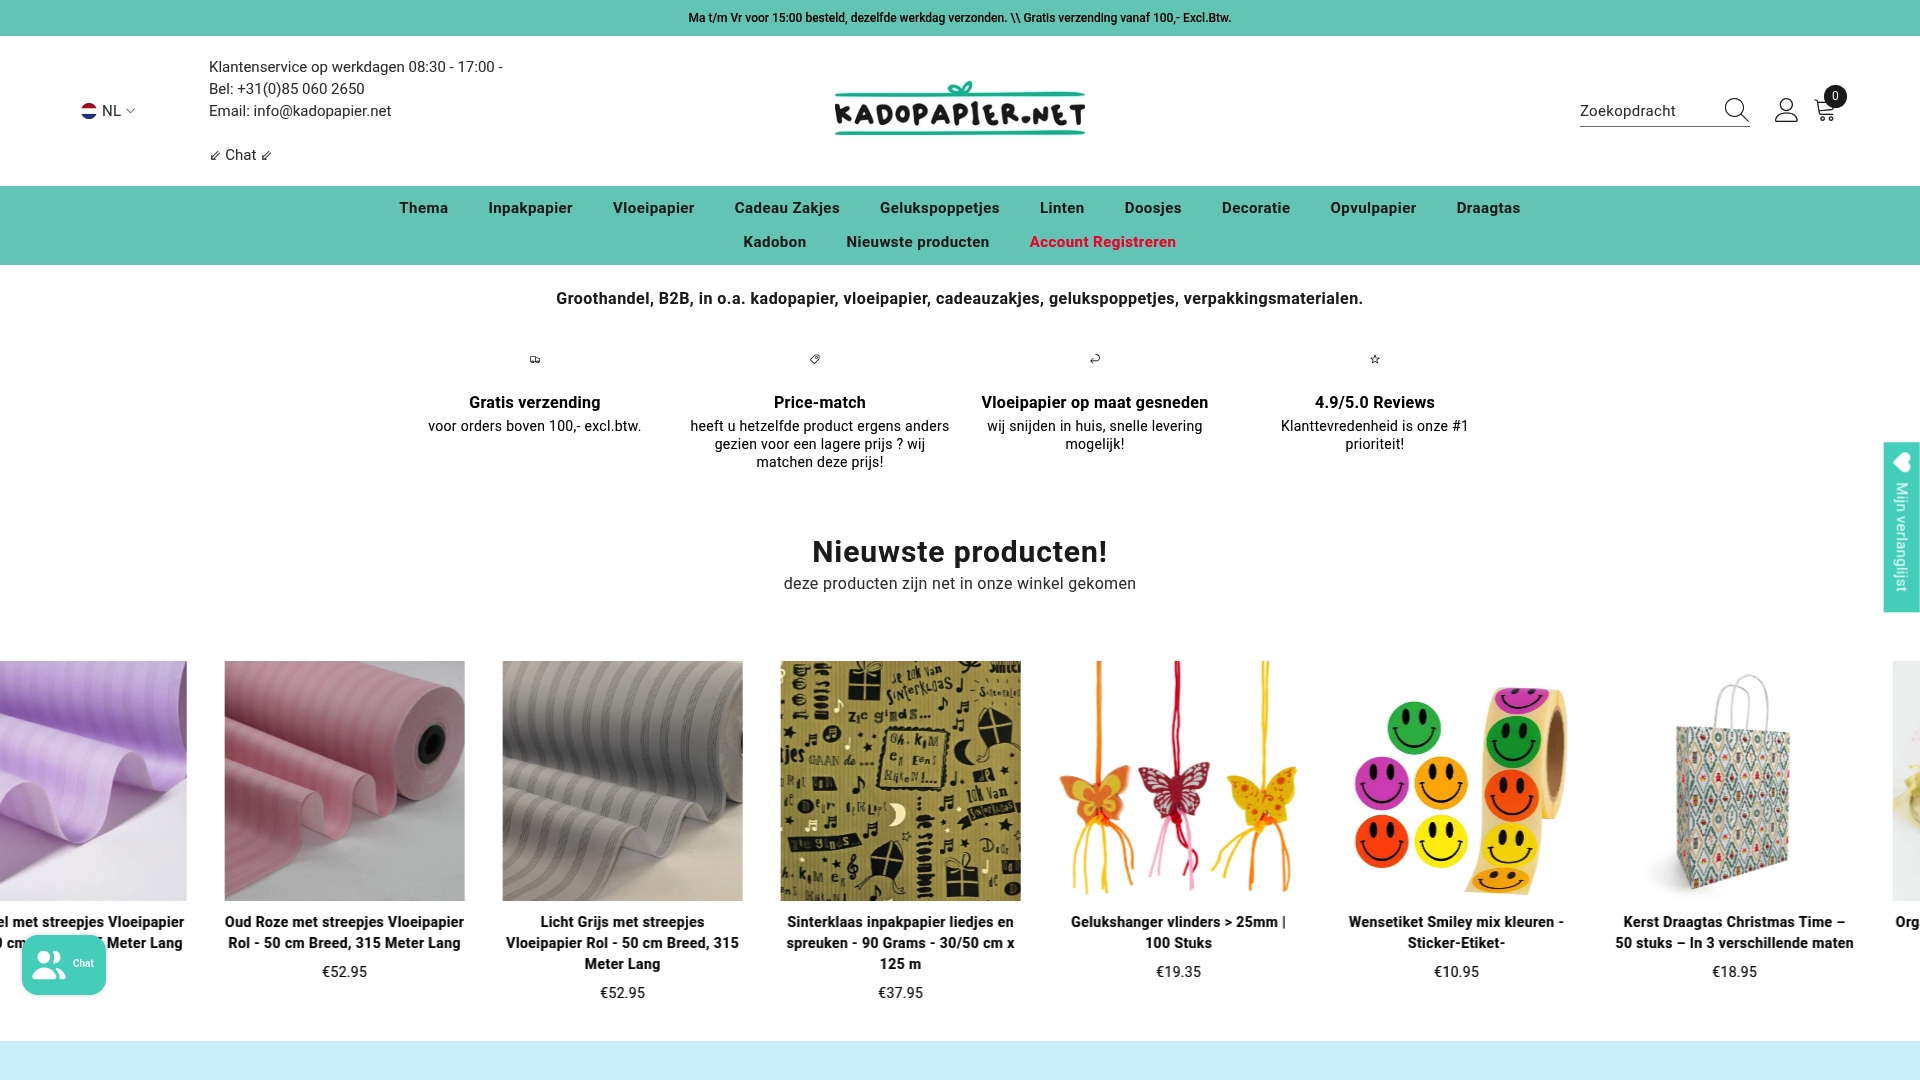
Don't take any chances with your packaging. Discover the wide range of high-quality sealing stickers and packaging materials at Kadopapier.net . Here you'll find everything you need to finish your project to perfection.
- From classic sealing stickers to luxury gift bags and sturdy wrapping paper
- Always a quick overview thanks to clear categories Make your choice today and experience the convenience of expertly selected products that create that perfect first impression. Visit Kadopapier.net now and confidently start creating your perfect packaging.
Frequently Asked Questions
What are closure stickers and what are they used for?
Sealing stickers are self-adhesive labels used to close and seal packages. They are ideal for securing gifts, parcels, and other packaging where a professional appearance is required.
What materials do I need to apply closure stickers?
To apply the sealing stickers, you'll need high-quality sealing stickers, a clean, dry surface, scissors or a precision cutter, and a pressure roller or a smooth surface to prevent air bubbles.
How do I choose the right type of sealing stickers for my packaging?
Choose sealing stickers based on the packaging material (paper, plastic, cardboard) and the desired adhesive strength, temperature resistance, and dimensions. Also consider the visual appearance; transparent or printed stickers can have different effects.
How do I correctly apply sealing stickers to my packaging?
Clean the surface thoroughly and position the sticker precisely. Work from the center outward to avoid air bubbles. After application, check for bubbles or wrinkles and press the sticker firmly for a smooth finish.